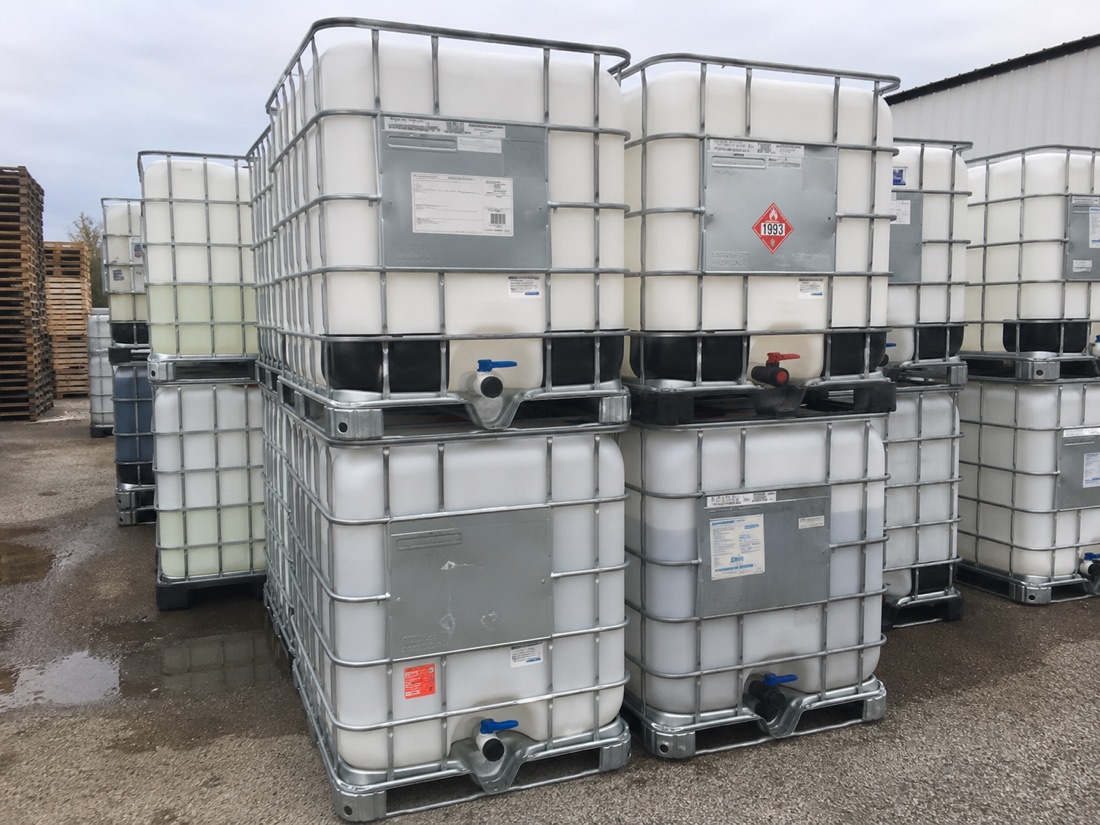
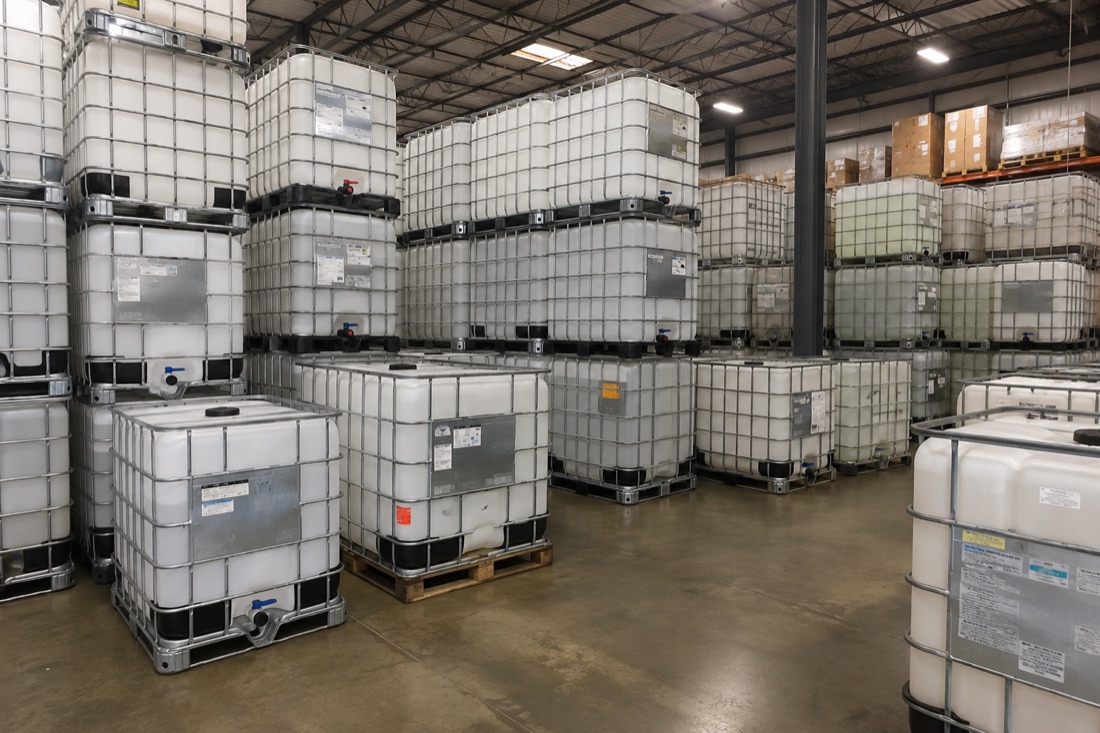
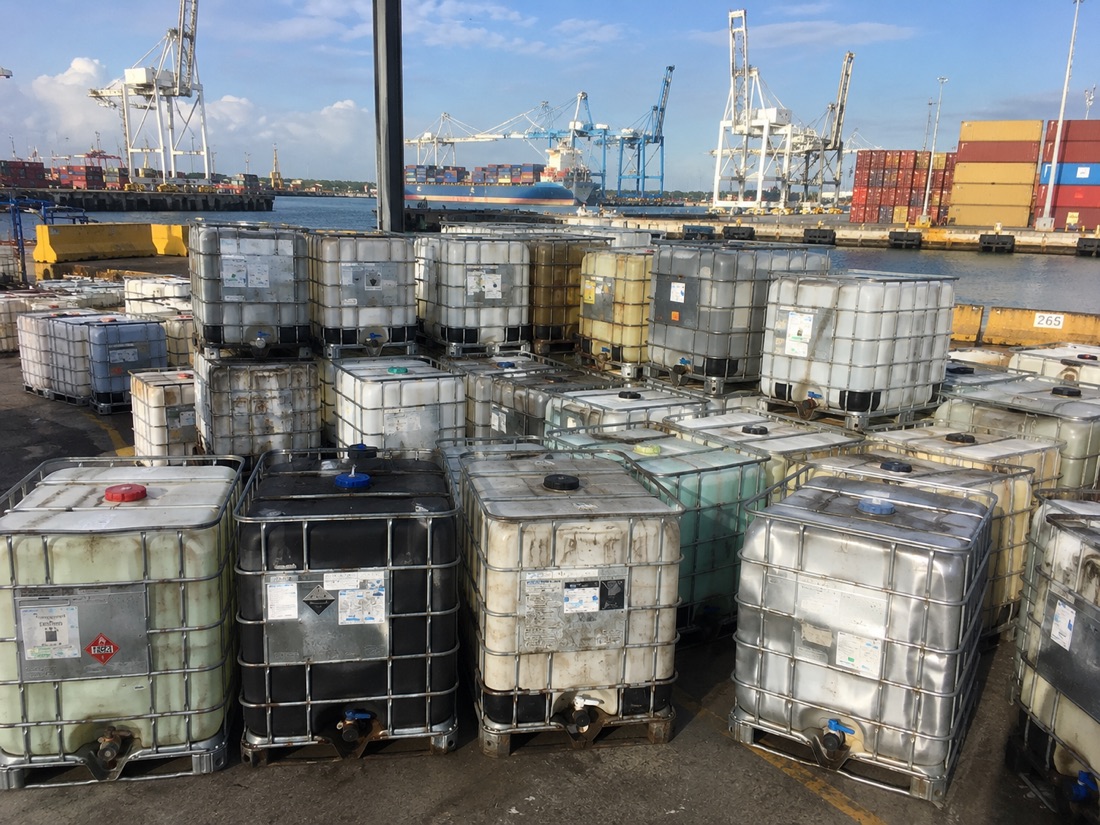
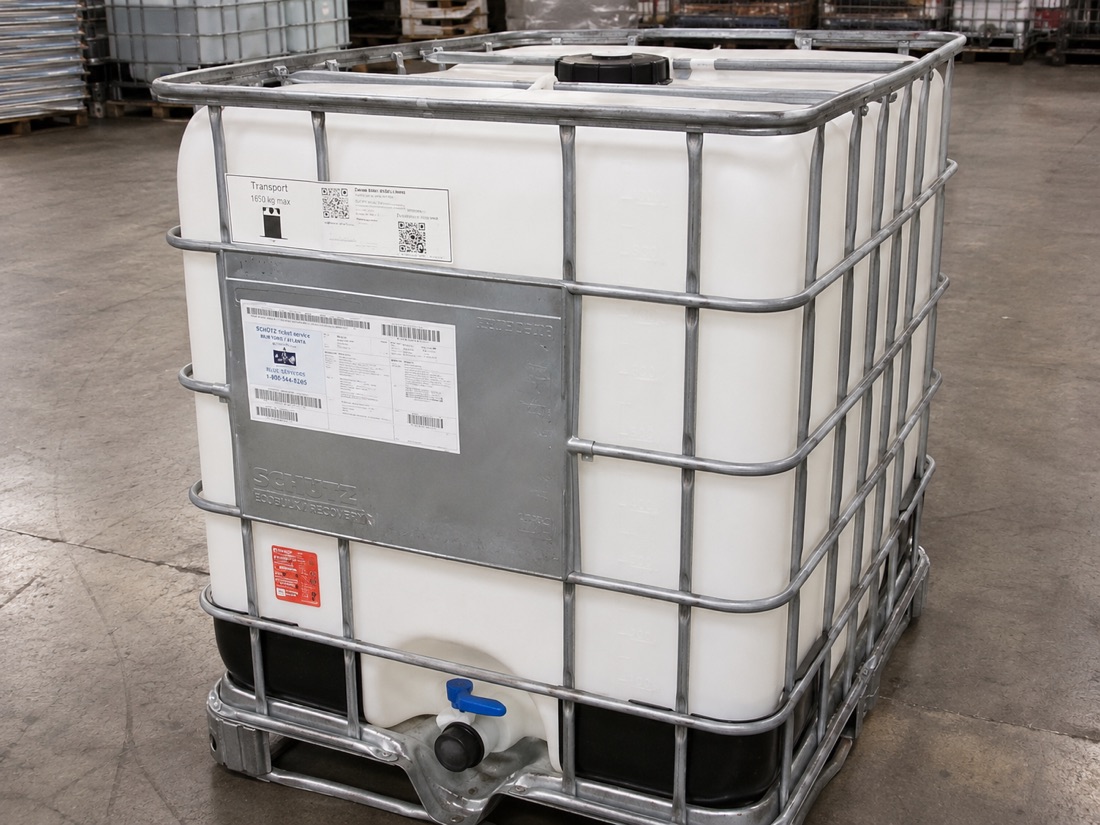
Aquaponics is one of the most satisfying things you can do with a pair of used totes. You raise fish in one, grow vegetables in beds cut from the other, and the two systems feed each other in a closed loop that uses a fraction of the water a garden normally needs. I have built several of these, and the tote form factor is almost purpose-designed for it. Here is the complete build, plus the biology you have to respect for it to actually work.
The idea in one paragraph
Fish produce waste, which is high in ammonia. Beneficial bacteria convert that ammonia first into nitrite and then into nitrate. Plants take up the nitrate as fertilizer, and in doing so they clean the water, which cycles back to the fish. Get that loop running and you have a self-fertilizing garden and a fish tank that mostly cleans itself. The bacteria are the quiet hero; nothing works without them.
Why two totes is the sweet spot
- One tote becomes the fish tank, left mostly intact to hold the largest volume of water. More water means a more stable system that forgives mistakes.
- The second tote becomes grow beds, cut horizontally so the top portion nests above or beside the tank as media beds.
- The steel cages give you a ready-made frame and stacking structure, which is exactly what a gravity-flood layout needs.
Source food-grade totes for this, ideally reconditioned units whose prior contents were food-safe. You are growing food and keeping live fish, so a solvent-tainted tote is not an option. Our IBC tote guide covers prior-contents sourcing if you want the detail.
The build
Step one: prep the fish tank
Leave the first tote largely whole. Cut an access opening in the top for feeding and maintenance, but keep the bottle volume intact for stability. Rinse it thoroughly with plain water; never use soap or solvent, which will poison a young system.
Step two: cut the grow beds
Take the second tote and cut it horizontally. The top section, inverted, makes an excellent media bed roughly a foot deep, which is ideal for most plants. Keep the cut clean and deburred so you do not tear a liner or cut yourself during harvest.
Step three: add grow media
Fill the beds with an inert medium: expanded clay pebbles or lava rock are the classics. The media supports plant roots and, just as importantly, gives the beneficial bacteria enormous surface area to colonize. Rinse the media before use to get the dust out.
Step four: plumb the loop
- A small submersible pump moves water from the fish tank up to the grow beds.
- Water floods the beds, delivering nutrients to the roots and bacteria.
- A bell siphon or timed drain returns the water down to the fish tank.
- The cycle repeats continuously, typically several times an hour.
Step five: aerate
Add an air pump and air stone to the fish tank. Fish need dissolved oxygen, and so do the beneficial bacteria. This is not optional; low oxygen is one of the fastest ways to crash a system.
The cycling phase: patience first
Here is the step beginners skip and regret. Before you add fish, you must cycle the system to grow the bacteria colony. Introduce an ammonia source and wait, testing the water, until you see ammonia convert to nitrite and then to nitrate. This takes several weeks. Only when nitrate is present and ammonia and nitrite read near zero is the biology ready for fish.
Add fish to an uncycled system and you will lose them to ammonia poisoning within days. The bacteria are not optional infrastructure; they are the whole engine.
Choosing fish and plants
| Choice | Good options | Notes |
|---|---|---|
| Fish (edible) | Tilapia, catfish | Hardy, fast-growing, warm water |
| Fish (ornamental) | Koi, goldfish | Very hardy, not for eating |
| Leafy greens | Lettuce, kale, herbs | Easiest; thrive on nitrate |
| Fruiting plants | Tomatoes, peppers | Need a more mature system |
Start with leafy greens and hardy fish. Fruiting plants demand a well-established, nutrient-rich system and will frustrate a beginner if attempted too early.
Keeping it alive
- Test the water regularly for ammonia, nitrite, nitrate, and pH, especially in the first months.
- Do not overfeed. Excess food rots and spikes ammonia. Feed what the fish clear in a few minutes.
- Shade the fish tank to control algae and temperature, the same way you would a rainwater tote.
- Watch the pump. A stalled pump can crash oxygen and strand the beds within hours.
Why totes make it affordable
A commercial aquaponics setup runs into real money. Two reconditioned totes, a pump, an air stone, some media, and a weekend give you the same closed-loop system for a fraction of the cost, while keeping two containers out of the waste stream. That is the part I love: it is genuinely productive upcycling, not a novelty.
If you want clean, food-grade-sourced containers to start from, our reconditioned totes are washed and inspected, and the pumps and fittings live on the accessories page. Build it, cycle it patiently, and by summer you will be pulling salad off the top of a tote while fish grow underneath. Questions on sourcing the right units? Reach us through contact.