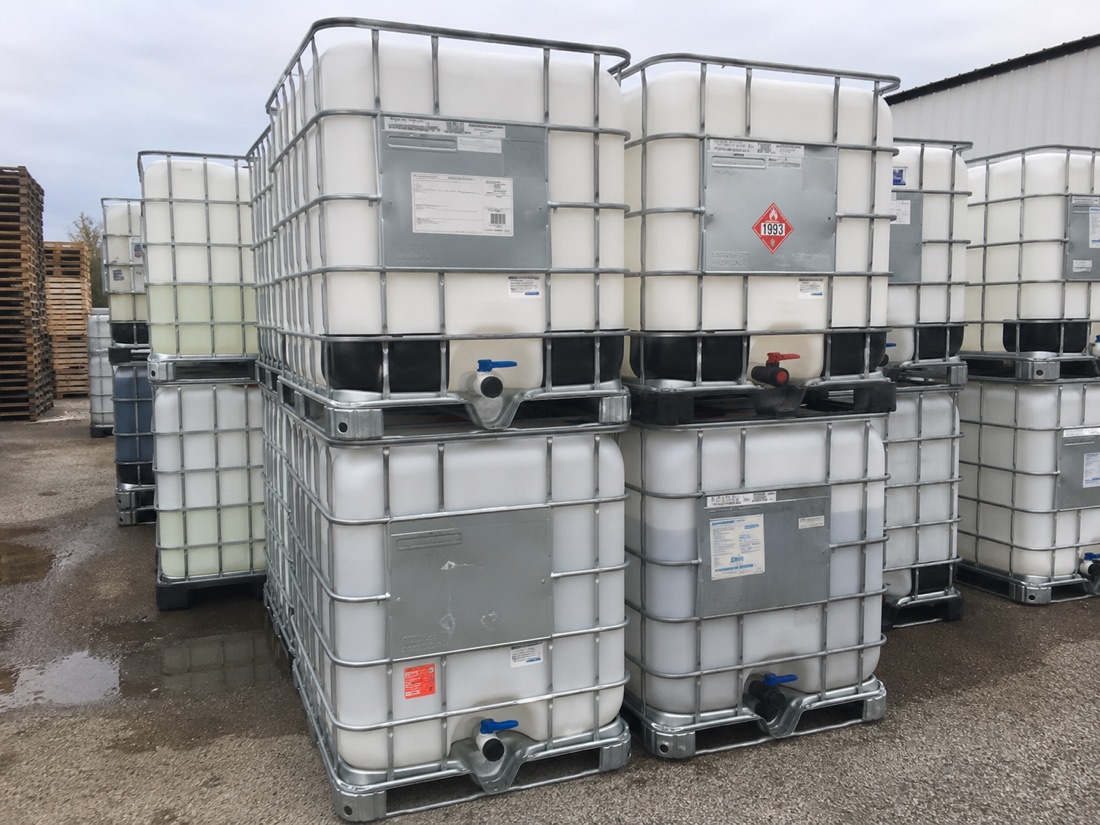
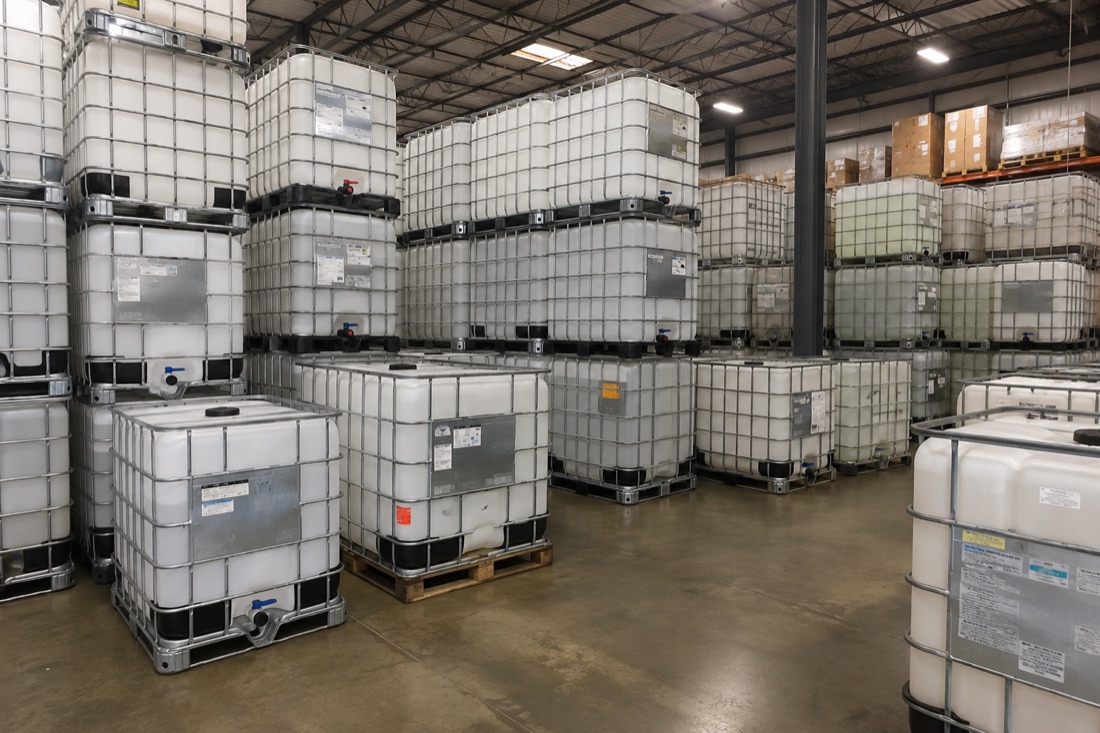
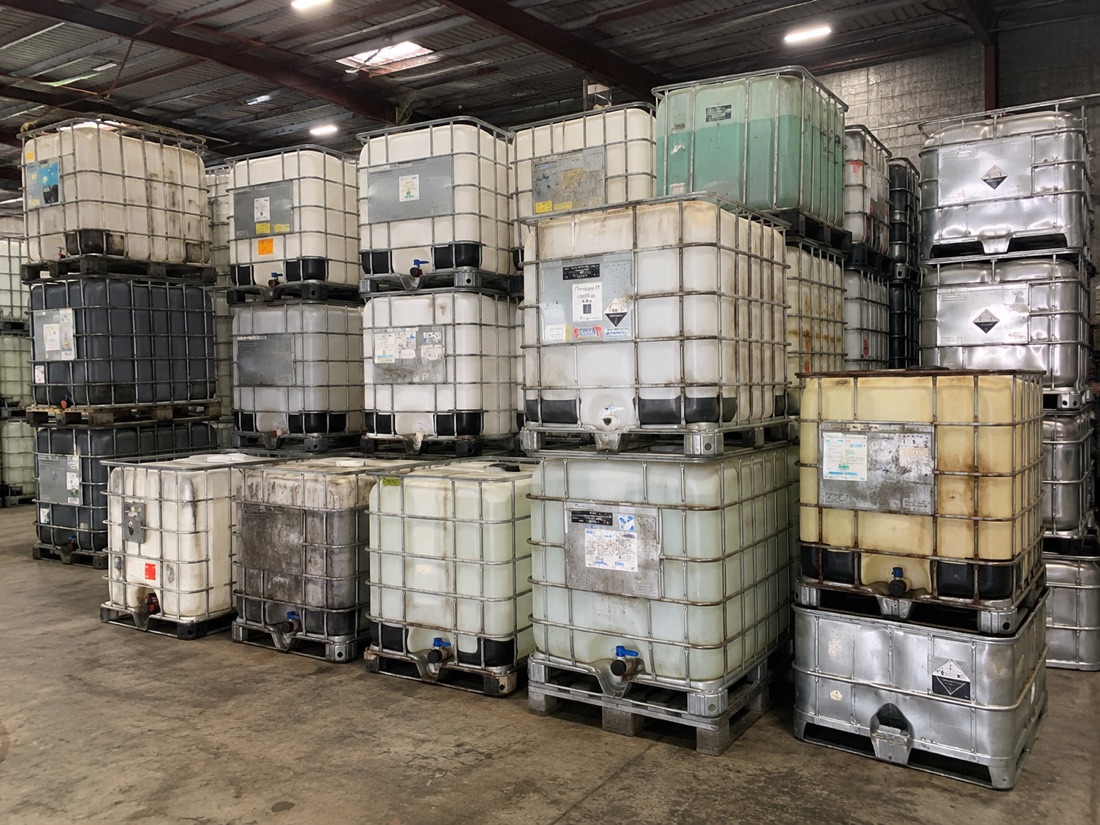
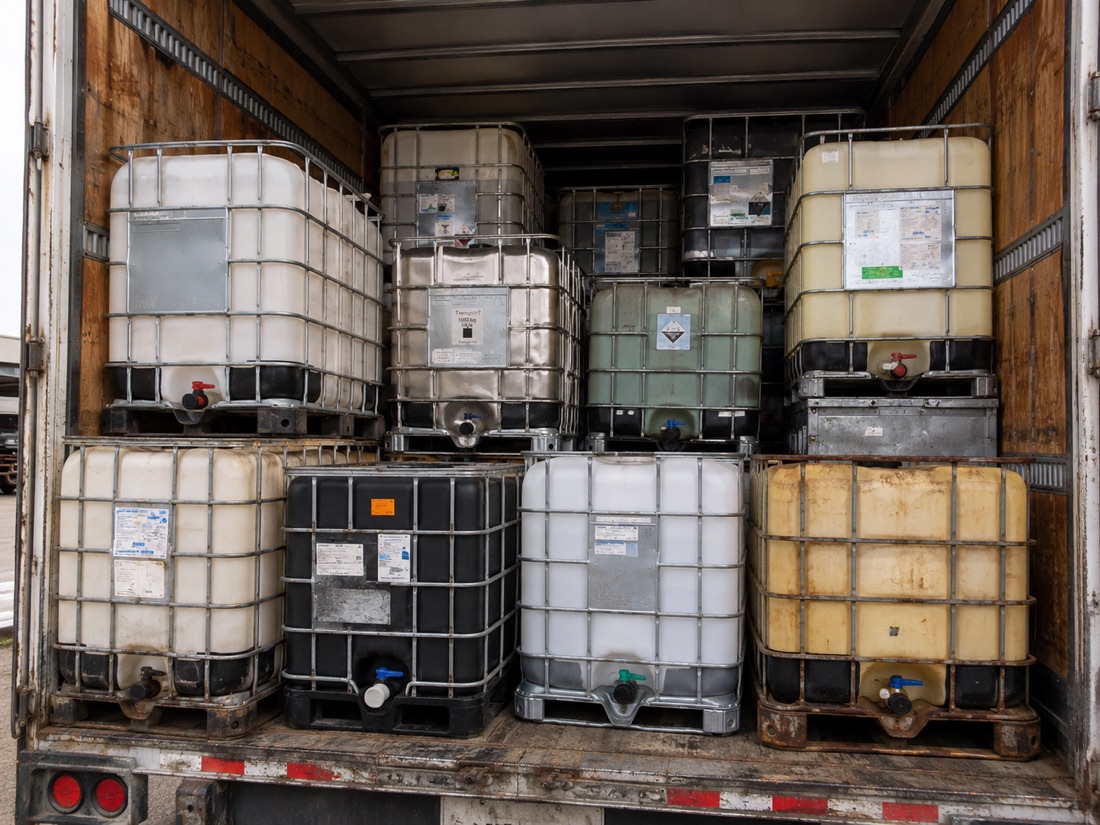
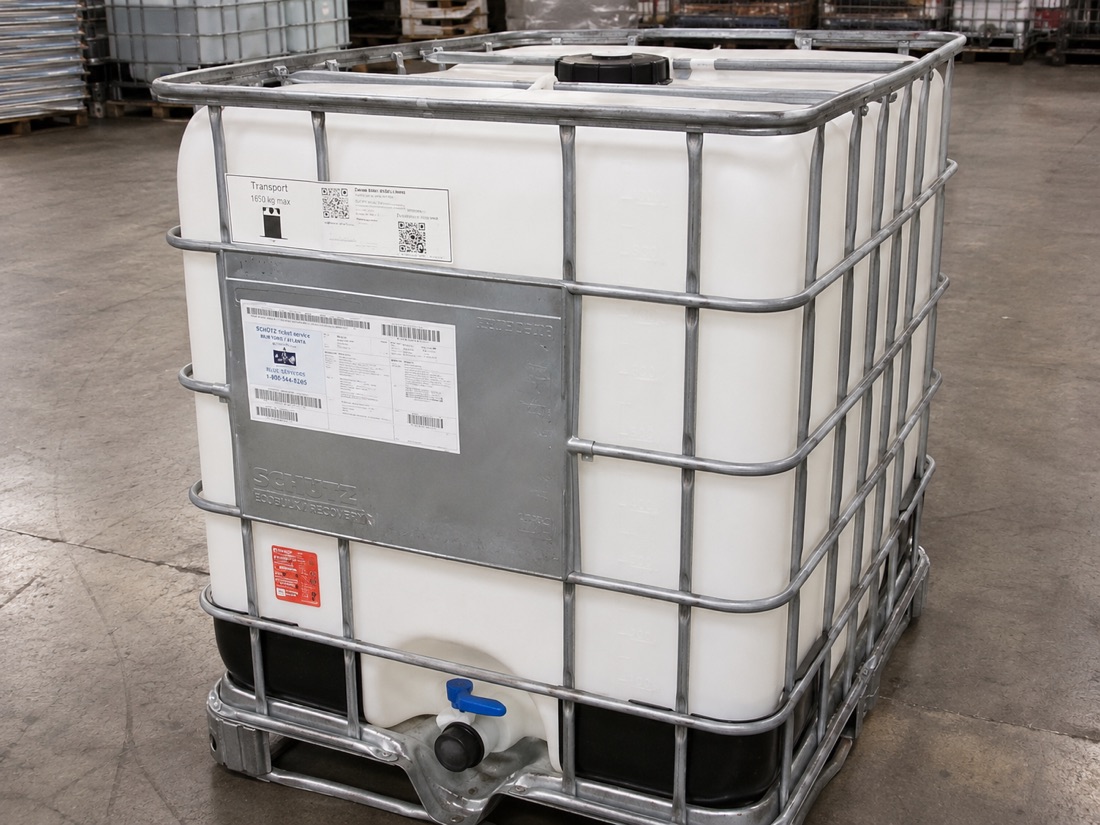
A 275-gallon tote is one of the best rainwater vessels ever accidentally invented. It is food-safe HDPE when you source it right, it comes in a stackable steel cage, and it already has a discharge valve at the bottom. I built my first tote-based system on a whim years before EcoIBC existed, and I still get more questions about rainwater than almost any other reuse. So here is the whole build, start to finish.
Do the roof math first
Before you buy anything, figure out how much water your roof will actually deliver. The rule is simple and worth memorizing.
Every 1 inch of rain on 1,000 square feet of roof yields roughly 600 gallons of runoff.
So a modest 600-square-foot roof section in a 1-inch storm gives you around 360 gallons, more than a single tote holds. That tells you two things: capture fills faster than beginners expect, and you will want either overflow routing or a second tote sooner than you think.
Sketch your catchment, estimate your local rainfall, and size the system to your dry-season need rather than your wettest month. In much of Texas the constraint is not catching water, it is storing enough to bridge a dry stretch.
Choose the right tote
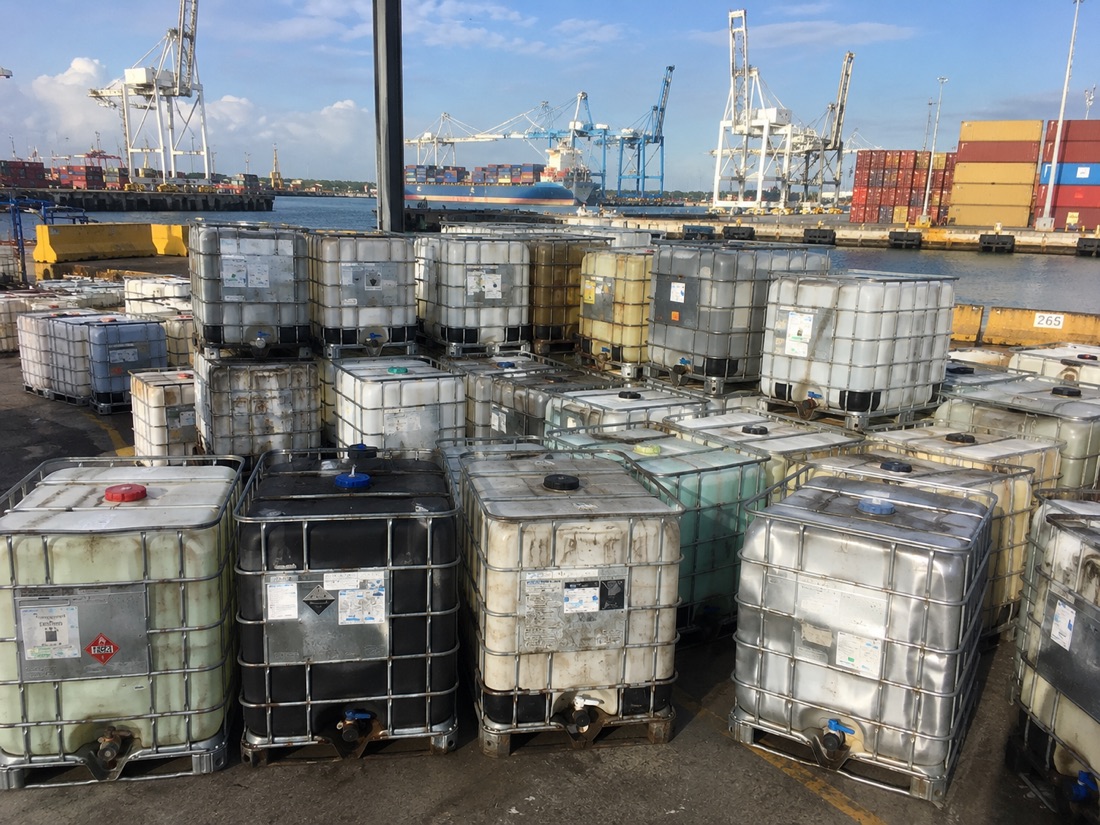
This is the step people rush and regret. For anything touching a garden you eat from, start with a food-grade prior-contents tote. A container that held syrup, juice concentrate, or food additives is ideal. Avoid any tote whose prior contents you cannot verify.
- Confirm the prior product was food-safe, not a solvent or agricultural chemical.
- Choose a reconditioned unit that has been washed and inspected.
- Check the cage and feet are solid, because a full tote weighs over a ton.
- Note the valve size so you can match fittings without adapters.
If you want the container-selection logic in more depth, our IBC tote guide walks through prior-contents sourcing in detail.
The parts list
Keep it simple. A reliable single-tote system needs very little.
| Item | Purpose |
|---|---|
| Reconditioned food-grade tote | Storage vessel |
| First-flush diverter | Dumps the dirty initial runoff |
| Fine mesh screen (window screen or finer) | Keeps debris and mosquitoes out |
| Downspout adapter / flexible elbow | Routes gutter into the top |
| Bulkhead or valve adapter | Connects a hose or spigot at the bottom |
| Cinder blocks or steel stand | Elevates for gravity pressure |
Build it in seven moves
- Level a solid base. A full tote is over 2,300 pounds. Set it on packed gravel or a concrete pad, then raise it on blocks or a stand so gravity gives you usable pressure at the valve.
- Cut the inlet. Open the top fill cap or cut a screened inlet in the dome. Do not leave any opening uncovered.
- Screen everything. Cover the inlet with fine mesh. This single step is what keeps mosquitoes from breeding and algae-feeding debris out.
- Install a first-flush diverter. The first gallons off a roof carry the most dust, bird droppings, and grit. Divert and dump them before they reach the tote.
- Connect the downspout. Use a flexible elbow so you can redirect flow to overflow or a second tote when the first is full.
- Set the outlet. Attach a hose bib or garden fitting to the discharge valve. A short length of hose makes filling watering cans easy.
- Plan the overflow. Route the overflow away from your foundation. Never let a full tote back water up against the house.
Keep the water clean
A tote system succeeds or fails on light and screens.
- Block sunlight. UV drives algae. Either use an opaque tote, wrap it in shade cloth, or tuck it under an eave. Clear or translucent totes will turn green fast in the open.
- Screen every opening. No uncovered hole, ever. Mosquitoes need only a pinhole.
- First-flush faithfully. The diverter is cheap insurance against sludge at the bottom of the tote.
Harvested rainwater from this kind of system is excellent for gardens, lawns, washing, and flushing. Treat it as non-potable unless you add proper filtration and disinfection; drinking water is a different project with a different standard.
Scaling up
Once the first tote fills in a single storm, most people immediately want a second. Totes make this easy: plumb them in series through their bottom valves so they fill and draw as one larger reservoir, or stack them if your cages are rated for it and your base is dead level. Two 275s give you 550 gallons; three give you enough to carry a raised-bed garden through a genuine dry spell.
If you would rather start from a clean, verified container than hunt for one, our reconditioned totes are washed and food-grade-sourced, and the fittings you need are on the accessories page. Build one this weekend, and the next real storm will make you a believer.